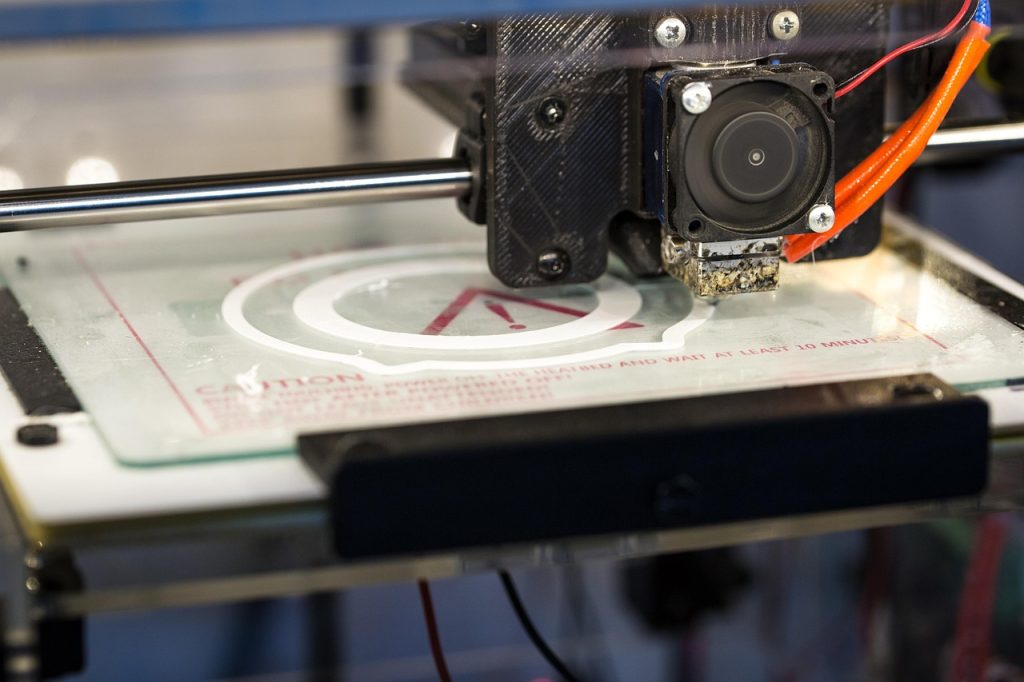
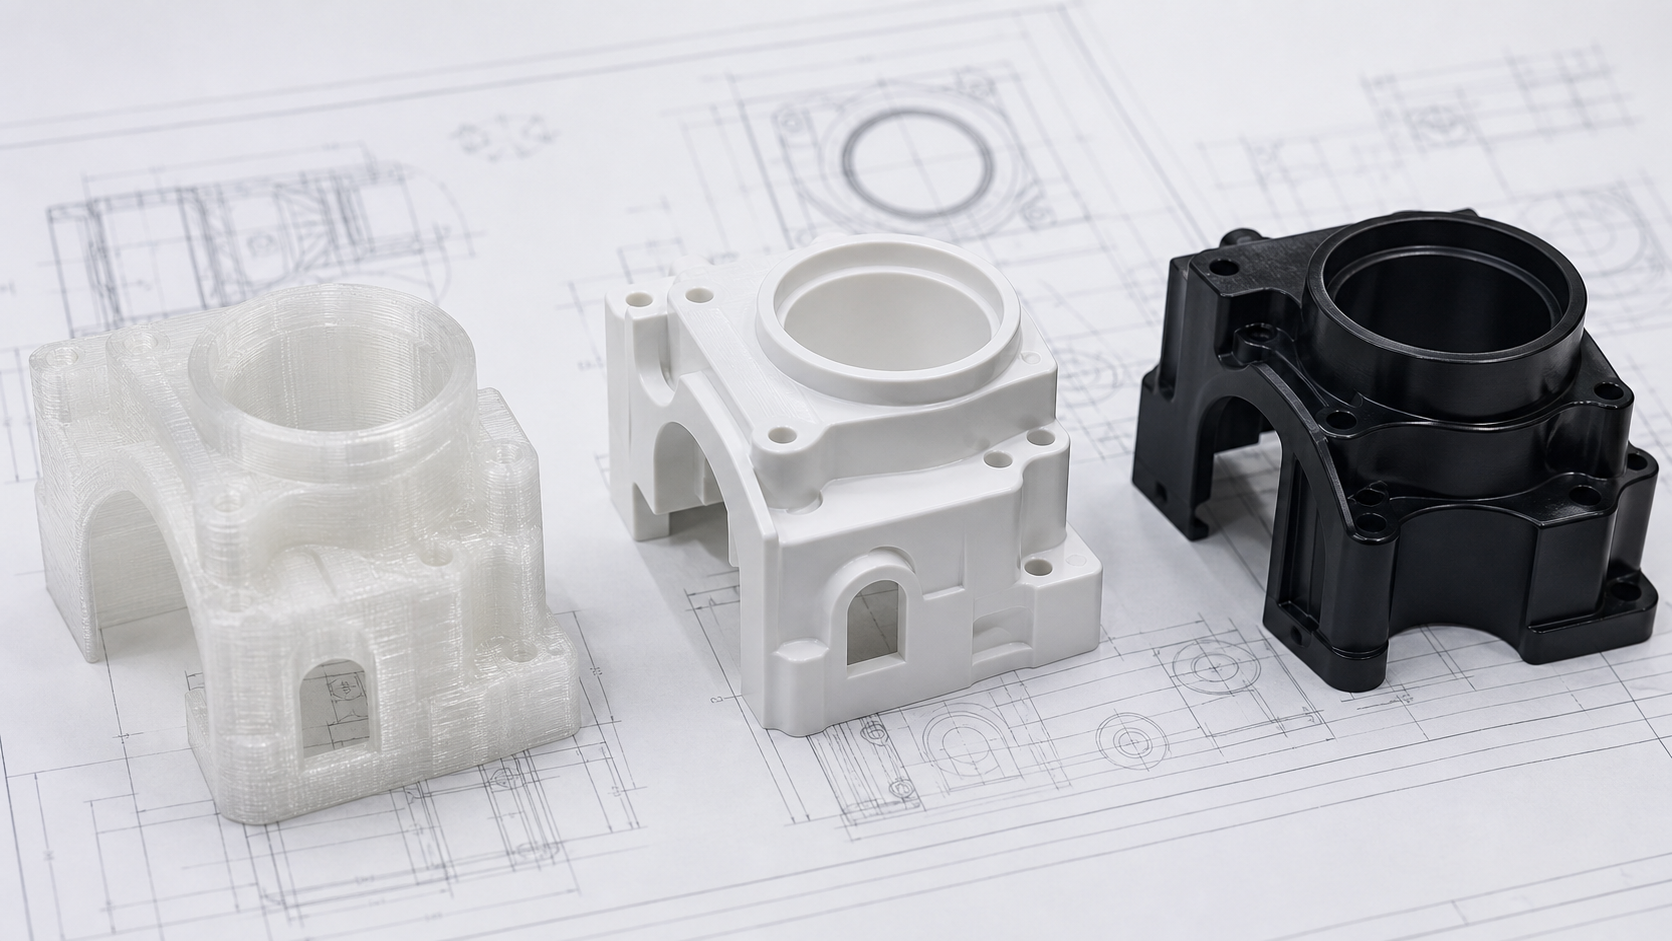
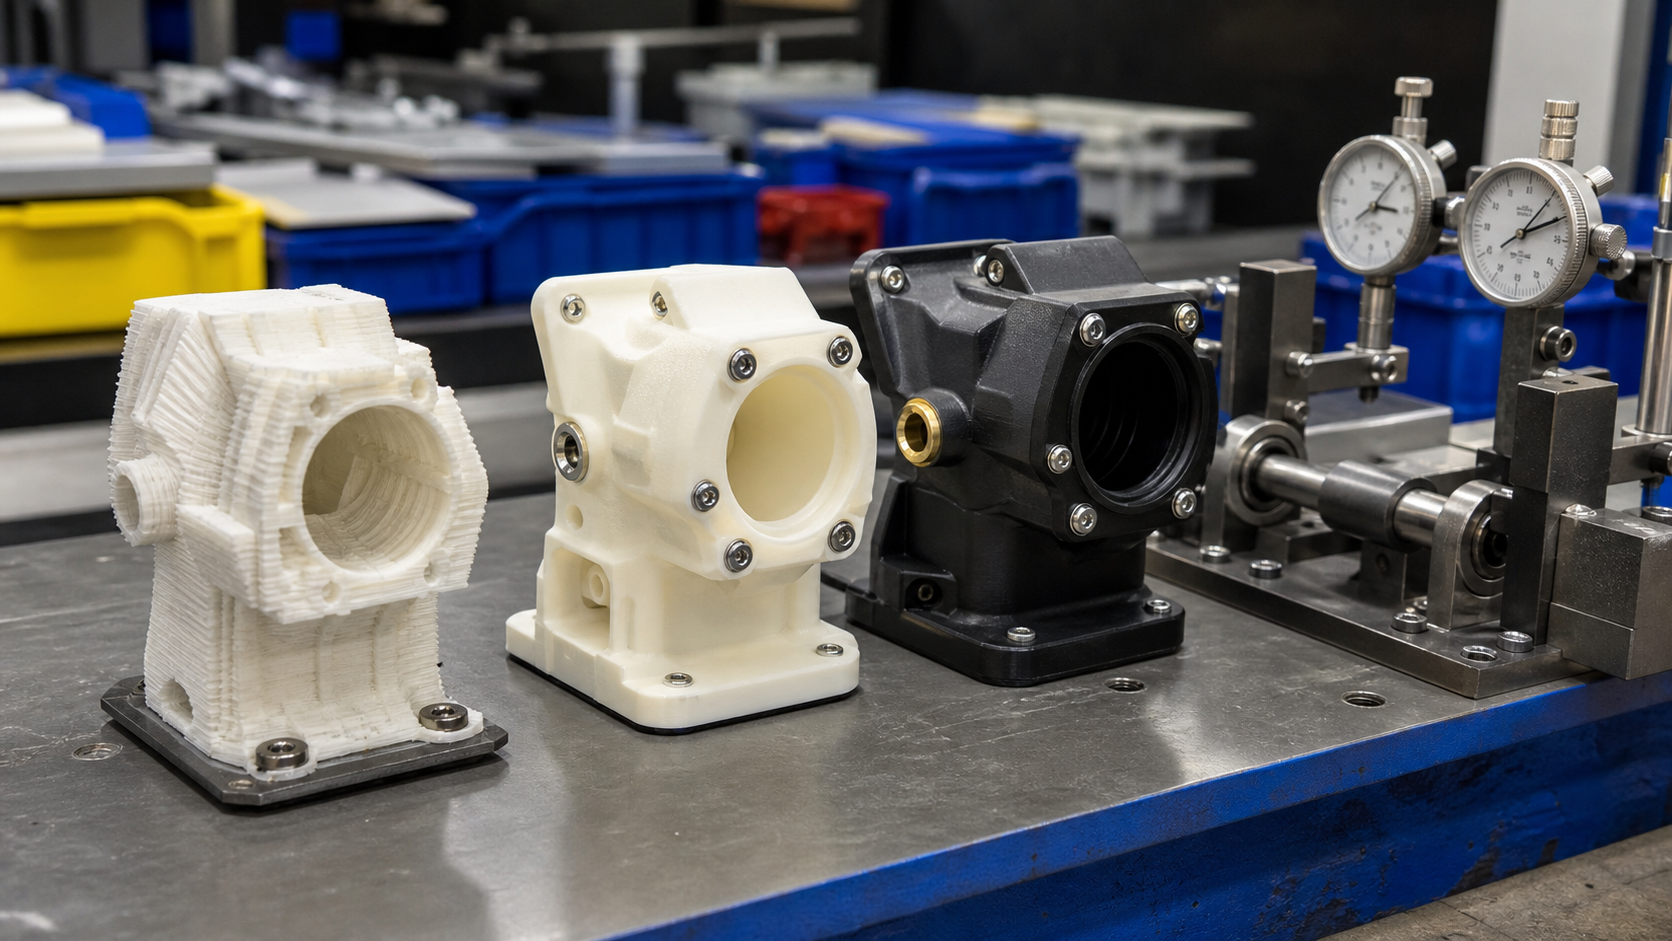
Plastic prototype manufacturing should produce the evidence needed for the next engineering decision. Use 3D printing for fast geometry and fit checks, CNC machining when the prototype must use engineering-plastic stock, and rapid tooling when molded resin behavior, shrinkage, gates or surface condition must be evaluated.
A plastic prototype manufacturer should first understand the validation goal, target material, critical dimensions, test conditions, quantity and intended production route. That keeps an early visual model from being mistaken for a production-representative part.
Plastic Prototype Manufacturing at a Glance
3Dプリンティング
こんな方に最適: early form, fit, clearance and assembly checks.
Check carefully: layer direction, surface finish and whether the printed material represents the final resin.
CNC Plastic Prototypes
こんな方に最適: functional parts made from engineering-plastic stock.
Check carefully: tool access, inside-corner radii, stock condition and differences from molded geometry.
ラピッドツーリング
こんな方に最適: molded samples, pilot builds and production-intent resin evaluation.
Check carefully: gate, parting line, ejector marks, shrinkage, warpage and the planned tool scope.
Choose the Prototype Route by the Validation Goal
The same CAD model can require a different process depending on what the team needs to approve. Start with the test question, then choose the route.
| Validation goal | Suitable route | Evidence the part can provide | Important limitation |
|---|---|---|---|
| Shape and basic assembly | 3Dプリンティング | Envelope, ergonomics, interference, clips and assembly sequence | Printed strength, finish and resin behavior may differ from production |
| Functional material test | CNCによるプラスチック加工 | Fit, stiffness, wear, heat or chemical behavior using selected stock material | Machined stress, radii and material direction may differ from molding |
| Molded-part validation | 迅速なツーリング | Resin flow, shrinkage, gate effects, weld lines, surface and molded assembly | Tool configuration and process window must match the validation purpose |
| Repeat production approval | Production tooling | Cavity balance, repeatability, production controls and final inspection planning | Design changes become harder after tooling is released |
When a CNC Plastic Prototype Is the Better Route
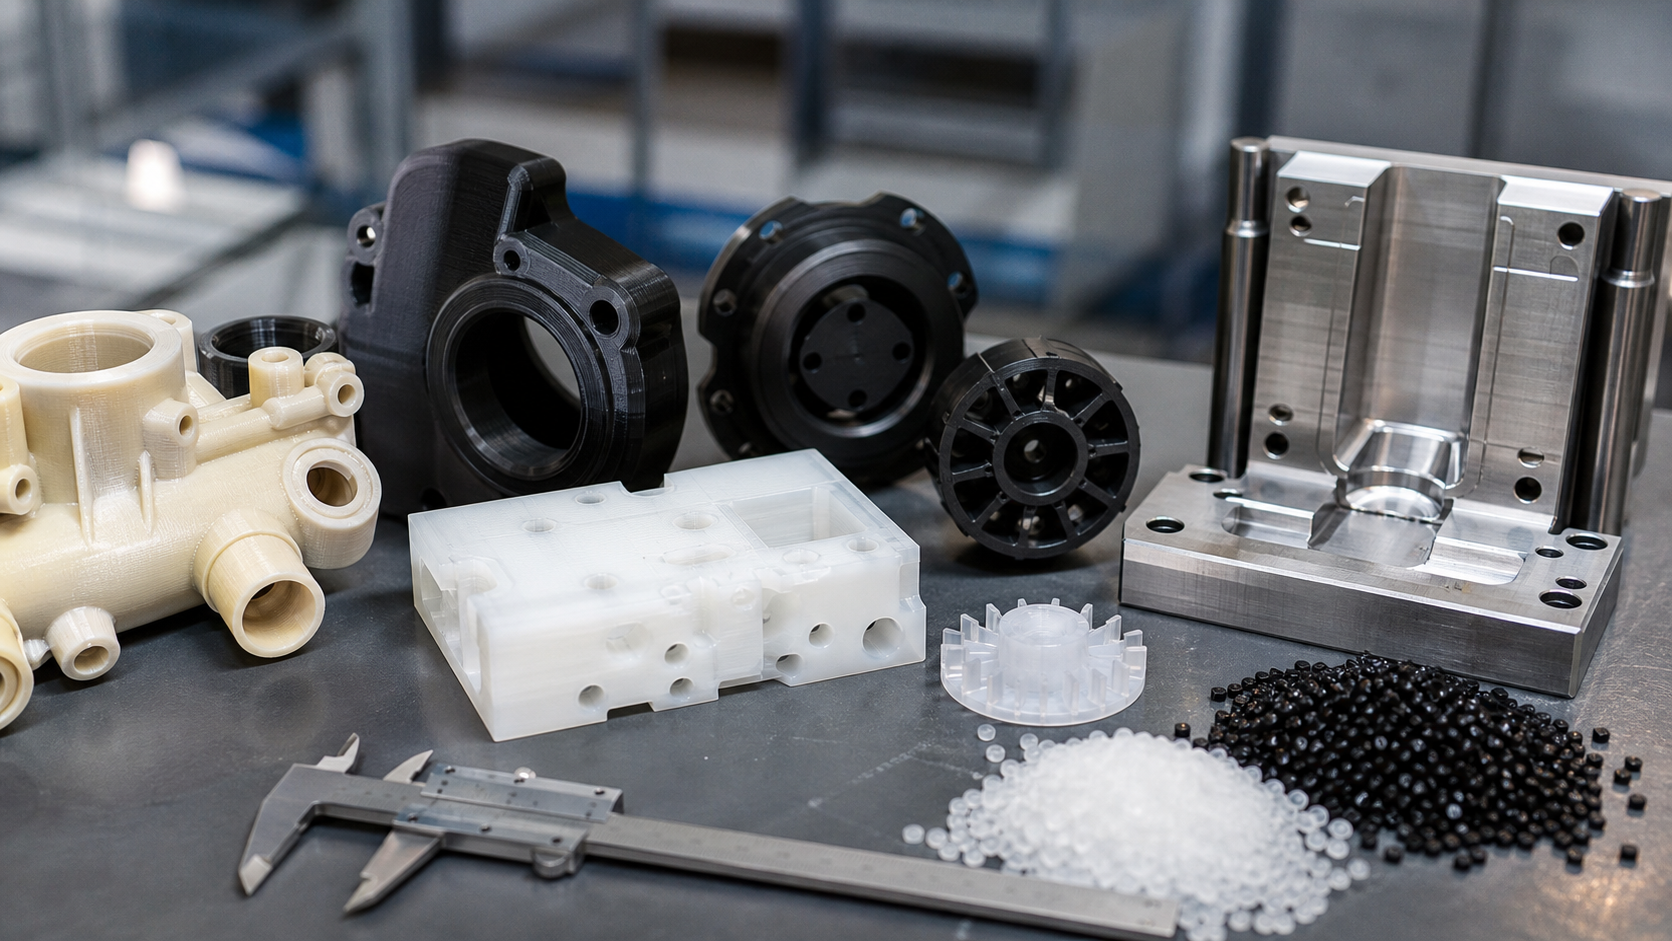
A CNC plastic prototype is appropriate when the project needs functional surfaces, engineering-plastic stock or dimensional evidence that an early printed model cannot provide. The drawing should still distinguish between features being validated now and features that will change for injection molding.
Choose CNC when the project needs
- A specified stock grade or a closer production-material comparison.
- Machined sealing, bearing, threaded or mating surfaces.
- Functional load, wear, thermal or chemical testing.
- A small number of parts before tooling is justified.
Review plastic-specific machining risks
- Fixture pressure and cutting heat can distort thin or flexible features.
- Internal stress and stock condition can affect flatness after machining.
- Tool radius and access limit sharp internal corners and deep features.
- Moisture and conditioning can change dimensions in some engineering plastics.
| Review stage | 確認すべき事項 | Project output |
|---|---|---|
| CAD and drawing | Revision, datums, critical fits, tool access and inspection method | DFM questions and controlled dimensions |
| 素材と在庫 | Grade, filler, color, stock form and conditioning assumptions | Material basis for the prototype test |
| Machining and finish | Clamping, wall stability, radii, threads, appearance and secondary work | Defined manufacturing and finishing scope |
| Inspection and decision | Critical measurements, test condition and acceptance criteria | Evidence for design revision, another prototype or tooling |
Material Selection: Match the Sample to the Question
A convenient prototype material can confirm shape while giving the wrong answer about temperature, moisture, impact, wear or chemical exposure. State which properties must represent production and which features are only being reviewed visually.
| Prototype material route | Useful for | Review before testing |
|---|---|---|
| Printed polymers | Geometry, handling, assembly and rapid design iteration | Print process, build direction, post-processing and whether the material is only a visual substitute |
| Machined engineering plastics | Functional testing in available nylon, POM, PC, PMMA, PEEK or other stock grades | Exact grade, filler, moisture condition, stock form and machining stress |
| Molded production-intent resin | Shrinkage, flow, texture, weld lines, gate effects and assembly behavior | Grade, conditioning, color, mold conditions and sample identification |
For filled nylon and other reinforced plastics, the test plan should also consider fiber orientation and conditioning. A machined sample and an injection-molded sample from the same resin family can behave differently because their material history and internal structure are different.
DFM and Inspection Before Prototype Release
Custom plastic prototyping is more useful when the drawing states what will be inspected and why. Separate critical assembly dimensions from cosmetic dimensions and from features that will be adjusted for molding later.
Geometry and tolerance
- Identify datums, mating parts and critical dimensions.
- State required clearance, insertion force, sealing or alignment conditions.
- Mark surfaces where tool access, support removal or draft can affect the result.
Service and test conditions
- Define load, speed, temperature, moisture and chemical exposure.
- State whether the sample will be tested as made or after conditioning.
- Provide the acceptance method instead of relying only on appearance.
Appearance and finishing
- Define color, gloss, texture, transparency and visible surfaces.
- Clarify whether the finish must represent production.
- Identify acceptable marks from supports, tools, gates or ejectors.
Production transition
- Share expected production process and annual demand.
- Record design changes and unresolved test results.
- Review walls, ribs, bosses, draft, gates and parting lines before tooling.
When to Move From Prototype to Production
Move toward production tooling when the geometry, material, critical interfaces and test results are stable enough to justify the commitment. The handoff should include the approved CAD revision, controlled drawing, material grade, key inspection points, appearance reference and lessons from the prototype.
Do not carry an unresolved prototype problem into a larger tool simply because the sample quantity is complete. If the prototype used a substitute material or process, record that limitation and identify what still needs to be proven with molded parts.
- 3D printing vs CNC machining for early route selection.
- Custom machined plastic parts for functional CNC parts and lower-volume requirements.
- Rapid tooling vs production tooling for molded validation decisions.
- プラスチック射出成形サービス for the production stage.
Plastic Prototype Manufacturing FAQ
When is 3D printing suitable for a plastic prototype?
Use it when the immediate questions concern shape, clearance, ergonomics, assembly sequence or early design iteration. Confirm whether layer direction, finish and printed material are acceptable for the intended test.
When should I request a CNC plastic prototype?
Choose CNC machining when the sample needs engineering-plastic stock, functional surfaces or closer material behavior than a convenient printed substitute can provide. Review tool access, corner radii and stock condition before release.
When does rapid tooling make sense?
Use rapid tooling when the team must evaluate molded resin behavior, shrinkage, gates, weld lines, surface condition or pilot assembly before committing to production tooling.
Can one prototype validate everything?
Usually each prototype should answer a defined set of questions. A shape model, functional sample and molded pilot part may provide different evidence, so the required route depends on the project risk.
What to Send for a Plastic Prototype Quote
Project inputs
- 3D CAD and controlled drawing revision.
- Prototype purpose, quantity and target timing.
- Material or required operating properties.
- Critical dimensions, finish and test conditions.
- Expected production process and volume.
What the review should clarify
- Suitable prototype route and material assumptions.
- DFM questions and features needing confirmation.
- Inspection scope and production-representative limits.
- Whether another validation stage is needed before tooling.
Send the part files together with the decision the prototype must support. The technical review can then compare 3D printing, CNC plastic machining and rapid tooling around the actual project requirement.
What Should Be Included in the Quotation?
Ask for the CAD and drawing revision, process, exact material or permitted substitute, sample quantity, finish, inspection records, packaging and delivery destination. Identify any machining after printing, support removal, assembly or tooling work so different quotations cover the same task.
A quote for a visual model and a quote for a functional prototype may cover different materials and checks. State which properties must represent production, which features are only for appearance, and which tests or documents are outside the quoted work.
Agree the Sample Acceptance Before Ordering
Define the measurements, assembly checks or functional tests that decide the next step. Identify who performs them, the test condition and the drawing revision. The outcome can be design acceptance, a documented change or another sample stage; the number of samples alone does not approve production tooling.
For a molded pilot, ask the quote to identify the tool scope, sample stage and handling of design changes. Compare sample acceptance and any later production-tool requirements separately. Timing and price depend on the agreed work and are confirmed in the project quotation.