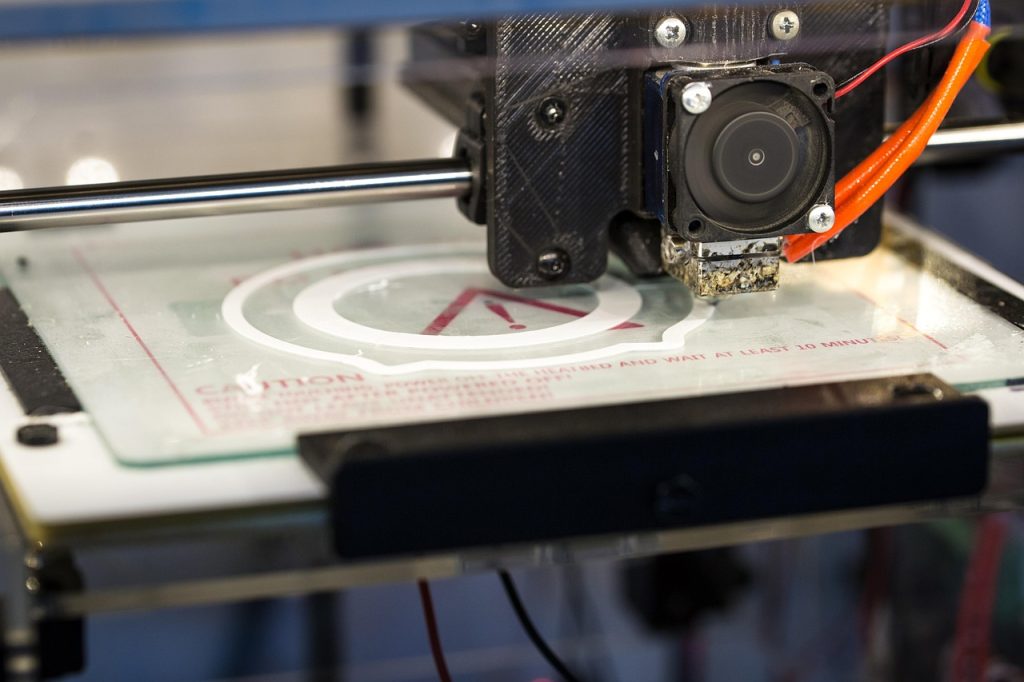
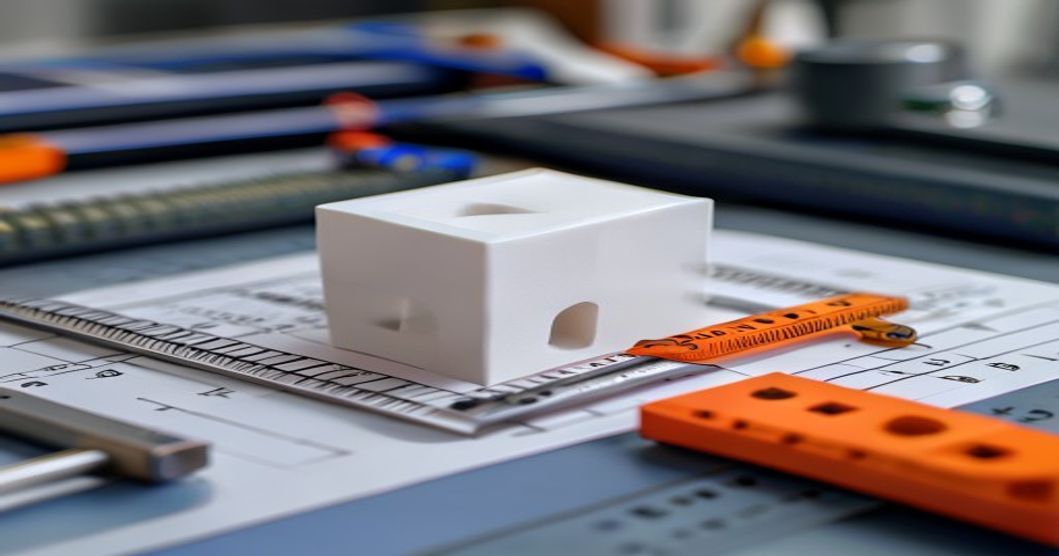
The 3d printer calibration cube is the single most commonly printed calibration object, yet it is also the most misunderstood. A cube that measures precisely 20x20x20mm indicates your printer is dialed in. A cube that measures 20.3×19.8×20.1mm reveals calibration drift that will ruin precision assemblies. This guide walks through printing, measuring, and interpreting calibration cubes for both new and experienced users.
What Is a 3D Printer Calibration Cube
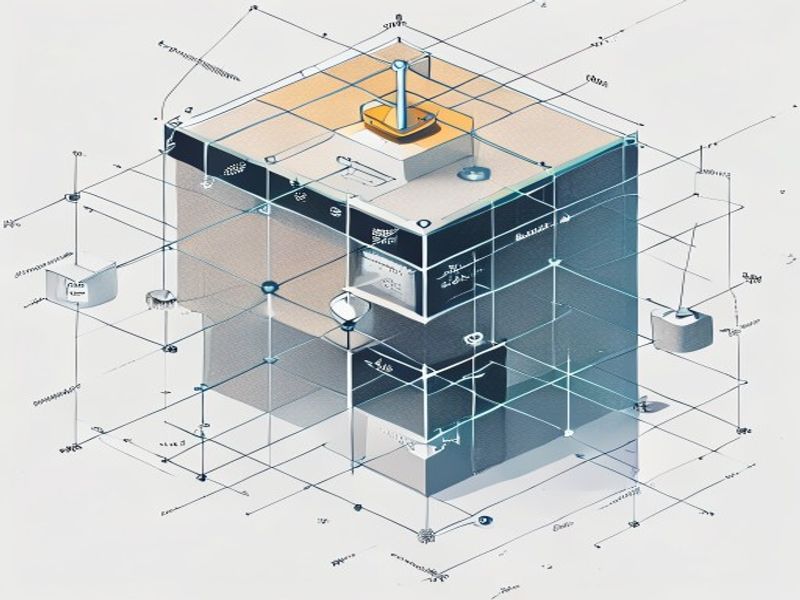
A calibration cube is a simple geometric shape printed to verify that your 3D printer produces parts at the correct size. The standard is a 20mm cube with clearly labeled X, Y, and Z axes. After printing, you measure each dimension with digital calipers and compare against the design intent. Any deviation reveals scaling error, belt tension issues, or mechanical misalignment.
While the cube seems trivial, it is the foundation of dimensional accuracy. Every functional part you print will inherit the same dimensional errors present in your calibration cube until you correct them.
Why Calibration Cubes Matter
A 3D printed part is only as accurate as the machine that produced it. Common issues revealed by calibration cubes include:
- X/Y scaling error — Belts too loose or too tight, or incorrect steps-per-mm calibration
- Z-axis error — Lead screw pitch mismatch or layer height not dividing evenly into total height
- Diagonal shrinkage — Uneven cooling or frame not square
- Rounded corners — Excessive nozzle compensation or loose belts
- Elephant foot — First layer too squished or bed temperature too high

How to Print a Calibration Cube
Follow this workflow for a reliable calibration cube print:
- Download a standard cube — Use a known-good model (e.g., from Thingiverse or Printables) with clearly labeled axes and 20mm nominal dimensions
- Slice with standard settings — 0.2mm layer height, 20% infill, 3 perimeters, no supports, PLA at 200-210°C
- Disable any auto-scaling — Ensure slicer settings do not have X/Y/Z scaling enabled
- Print in the center of the bed — Avoid bed-leveling irregularities at the edges
- Allow full cooling — Measure only after the cube reaches room temperature; PLA continues shrinking for several minutes after printing
Measuring Your Calibration Cube
Use digital calipers with 0.01mm resolution. Measure each dimension in three places and take the average:
| Axis | Nominal (mm) | Acceptable Range | What Error Indicates |
|---|---|---|---|
| X | 20.00 | 19.95-20.05 | X-axis belt tension or steps/mm |
| Y | 20.00 | 19.95-20.05 | Y-axis belt tension or steps/mm |
| Z | 20.00 | 19.90-20.10 | Z-lead screw pitch or layer height math |
If your measurements fall outside these ranges, proceed to calibration corrections. A difference of 0.1mm or more requires immediate attention; small-batch production parts will not fit together reliably.
Correcting X and Y Axis Scaling
If the cube measures 20.3mm in X but should be 20.0mm, your printer is over-extruding in that axis. The correction process:
- Calculate the correction factor: 20.0 ÷ measured_value = steps_per_mm_multiplier
- Send M92 X[new_steps] Y[new_steps] to the printer (values depend on your hardware)
- Save with M500 (if EEPROM is enabled)
- Reprint the cube and remeasure
Repeat until all three axes fall within 0.05mm of nominal. Belt tension also affects this: too loose and the axis can skip steps; too tight and the motor struggles to move smoothly. Adjust belt tension so you can pluck it like a guitar string (approximately 100-120Hz for typical GT2 belts).
3Dプリントやエンジニアリングプラスチックのニーズに、なぜナイロンプラスチックを選ぶべきなのか
エンジニアリングプラスチック分野で10年以上の実績を持つNylon Plasticは、世界中のB2B顧客に高性能素材を供給しています。 当社の製品ラインナップには、ナイロン(PA6、PA66、PA12)、POM、PEEK、およびPLA、PLA+、PETGなどの3Dプリント用フィラメントが含まれます。すべてのロットは、出荷前に直径公差(±0.03mm)、含水率、および機械的特性について検査されています。.
- ISO 9001認証を取得した製造施設
- 競争力のあるB2B価格での大量供給
- 材料選定および印刷パラメータに関する技術サポート
- 複数の倉庫からの迅速な世界配送
- OEMプロジェクト向けに、カスタマイズされた材料配合が可能です
よくあるご質問
When is 3D Printer Calibration Cube: The Complete Step-by-Step Guide a good option?
3D Printer Calibration Cube: The Complete Step-by-Step Guide is a good option when fast iteration, complex geometry, low tooling cost, or low-volume production is more important than molded-part unit cost.
What should be checked before choosing 3D Printer Calibration Cube: The Complete Step-by-Step Guide?
部品サイズ、材料特性、表面仕上げ、寸法公差、熱暴露、荷重方向、後処理が必要かどうかを確認する。.
How does 3D Printer Calibration Cube: The Complete Step-by-Step Guide compare with CNC machining?
3Dプリンティングは複雑な形状を素早く作ることができるが、CNC機械加工は精密な表面、より厳しい公差、生産グレードの材料に強いことが多い。.
What affects the cost of 3D Printer Calibration Cube: The Complete Step-by-Step Guide?
コストは、材料、造形量、印刷時間、レイヤーの高さ、サポート除去、仕上げ、検査、造形物の部品数によって異なる。.
関連記事
概要
| 決断の分かれ目 | What the Cube Reveals | 購入者への注意事項 |
|---|---|---|
| Dimension error | X/Y/Z scale drift | Use it to validate dimensional accuracy |
| 押出成形 | Over- or under-extrusion signs | Check walls before releasing settings |
| Corners / holes | Pressure and motion behavior | Watch for ringing, elephant foot and hole drift |
| 最適な用途 | Quick calibration baseline | Do not ship parts from cube results alone |